Bridging Tokens⚓︎
This page explains how to use the Symbol Mobile Wallet App to bridge tokens between Symbol and Ethereum.
Bridging lets you move value from one blockchain ecosystem to another.
For example, you can bridge XYM to Ethereum as bXYM, so it can be used in the wider Ethereum ecosystem.
The bridge can also swap XYM for ETH.
For the full explanation of bridge workflows, fees, processing time, and risks, see Bridging Symbol to Ethereum.
Bridge requests take time and include fees
A bridge request must be confirmed on the source network, detected by the bridge, processed, and paid out on the target network. Fees are deducted from the amount sent, and the final amount received can vary.
Prerequisites⚓︎
-
Make sure you have installed the Symbol Mobile Wallet. If you have not done that yet, see the Installing the App guide.
-
You must already have a wallet set up and unlocked in the app. See Creating a Wallet or Importing a Wallet if needed.
-
The source account must have enough balance to cover the amount being bridged and the fees.
How to Bridge Tokens⚓︎
Follow these steps to bridge tokens:
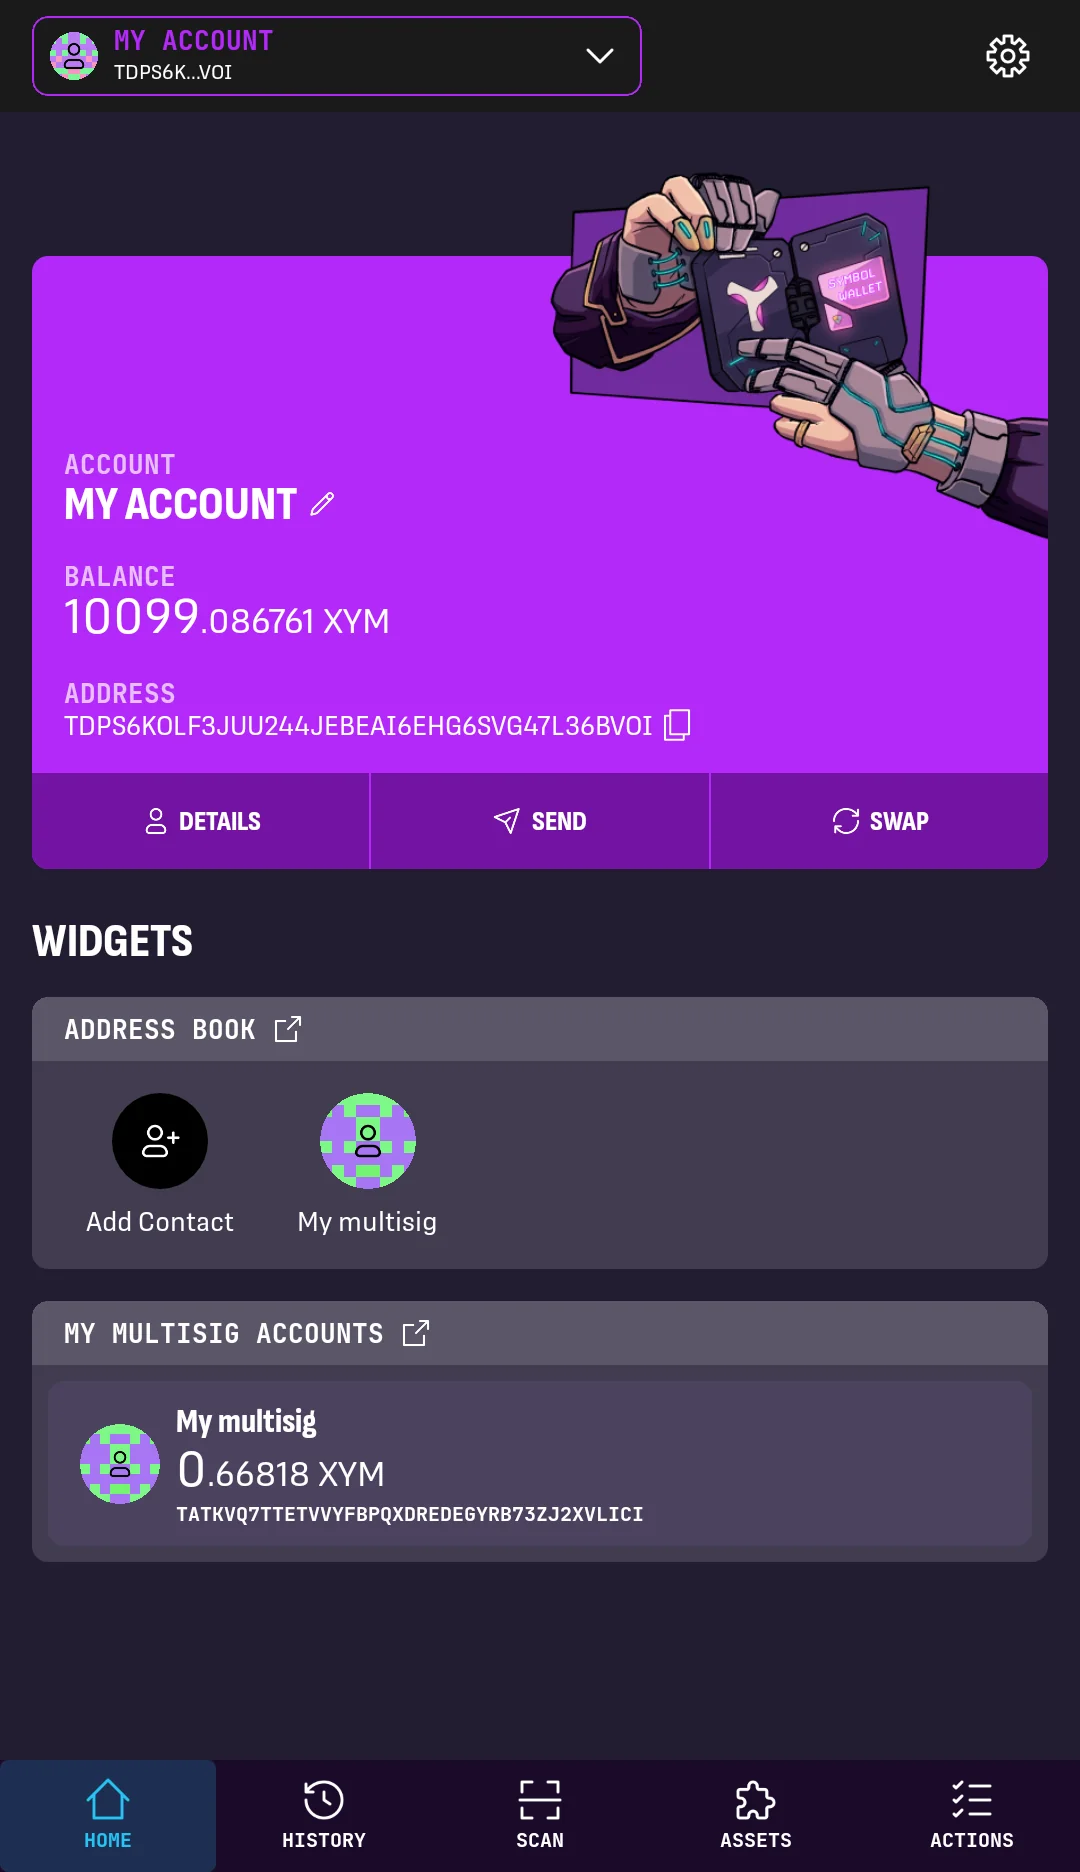
1. From the wallet's HOME screen, tap ACTIONS in the bottom-right corner.
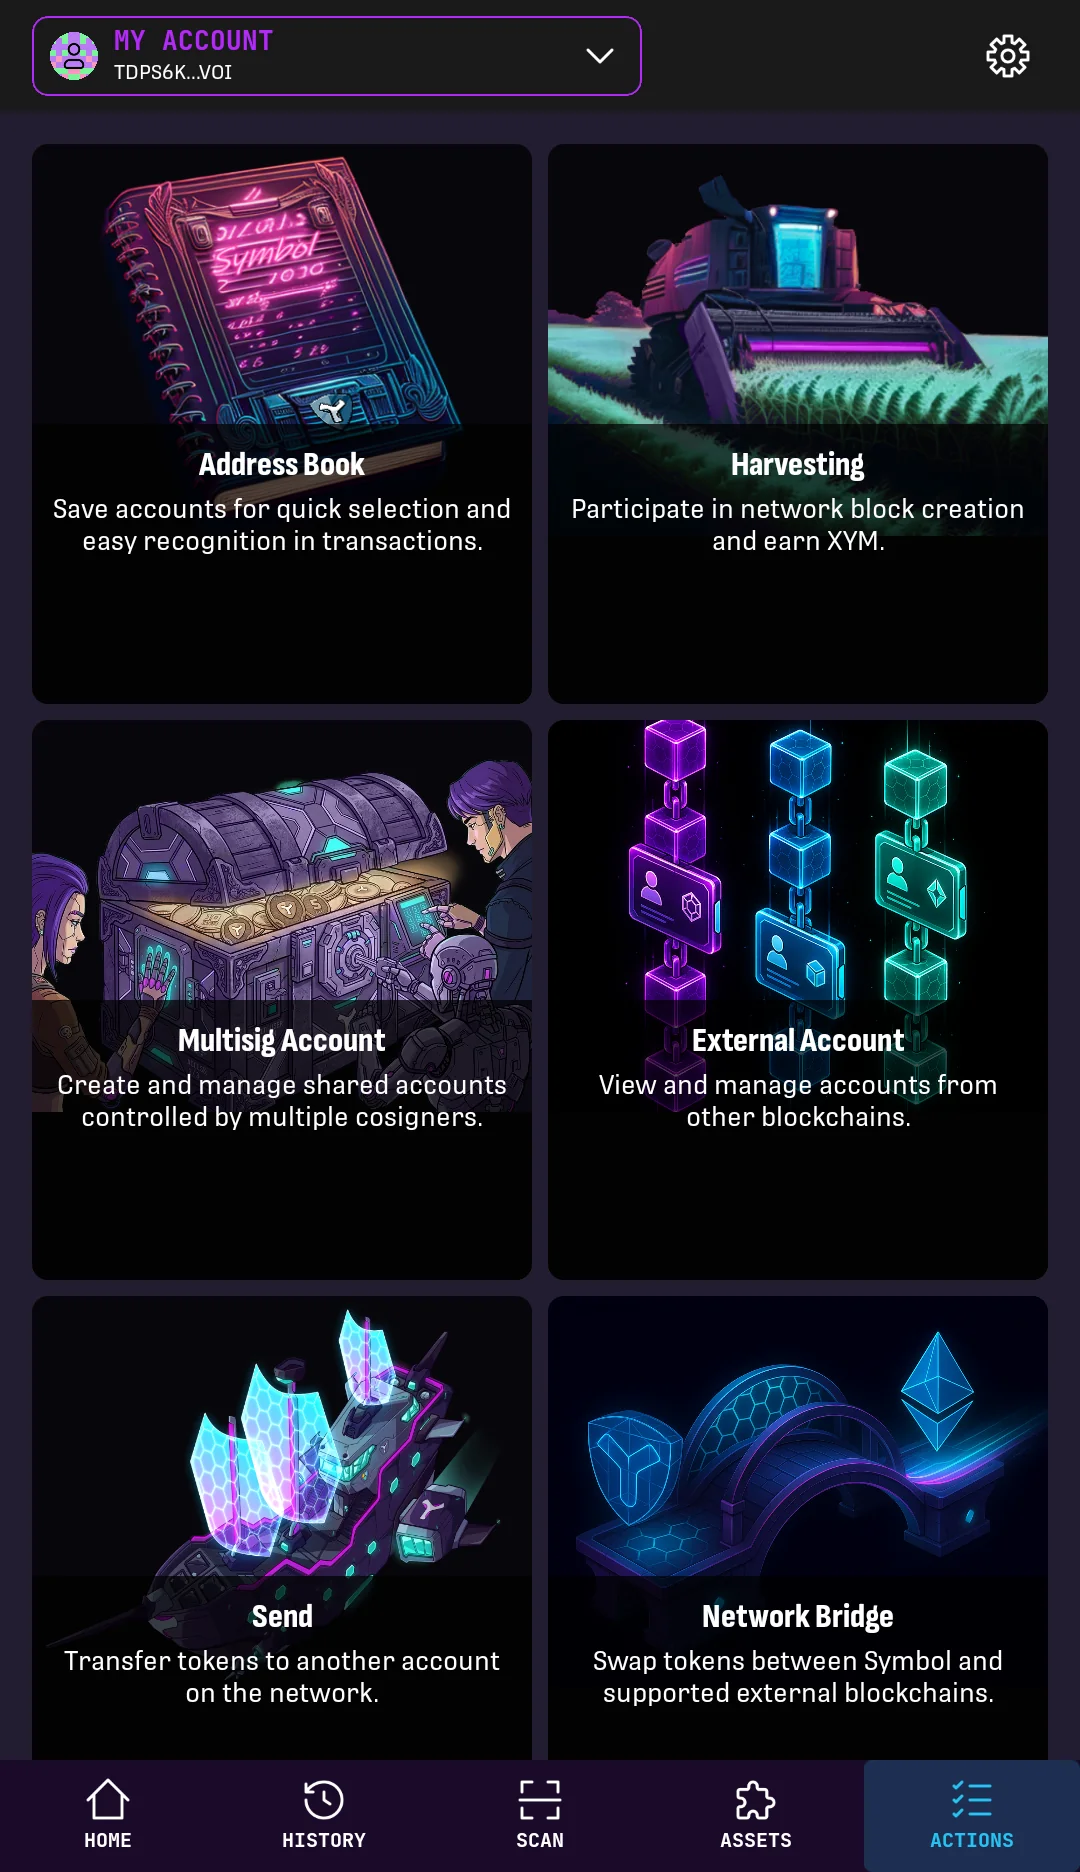
2. Tap Network Bridge.
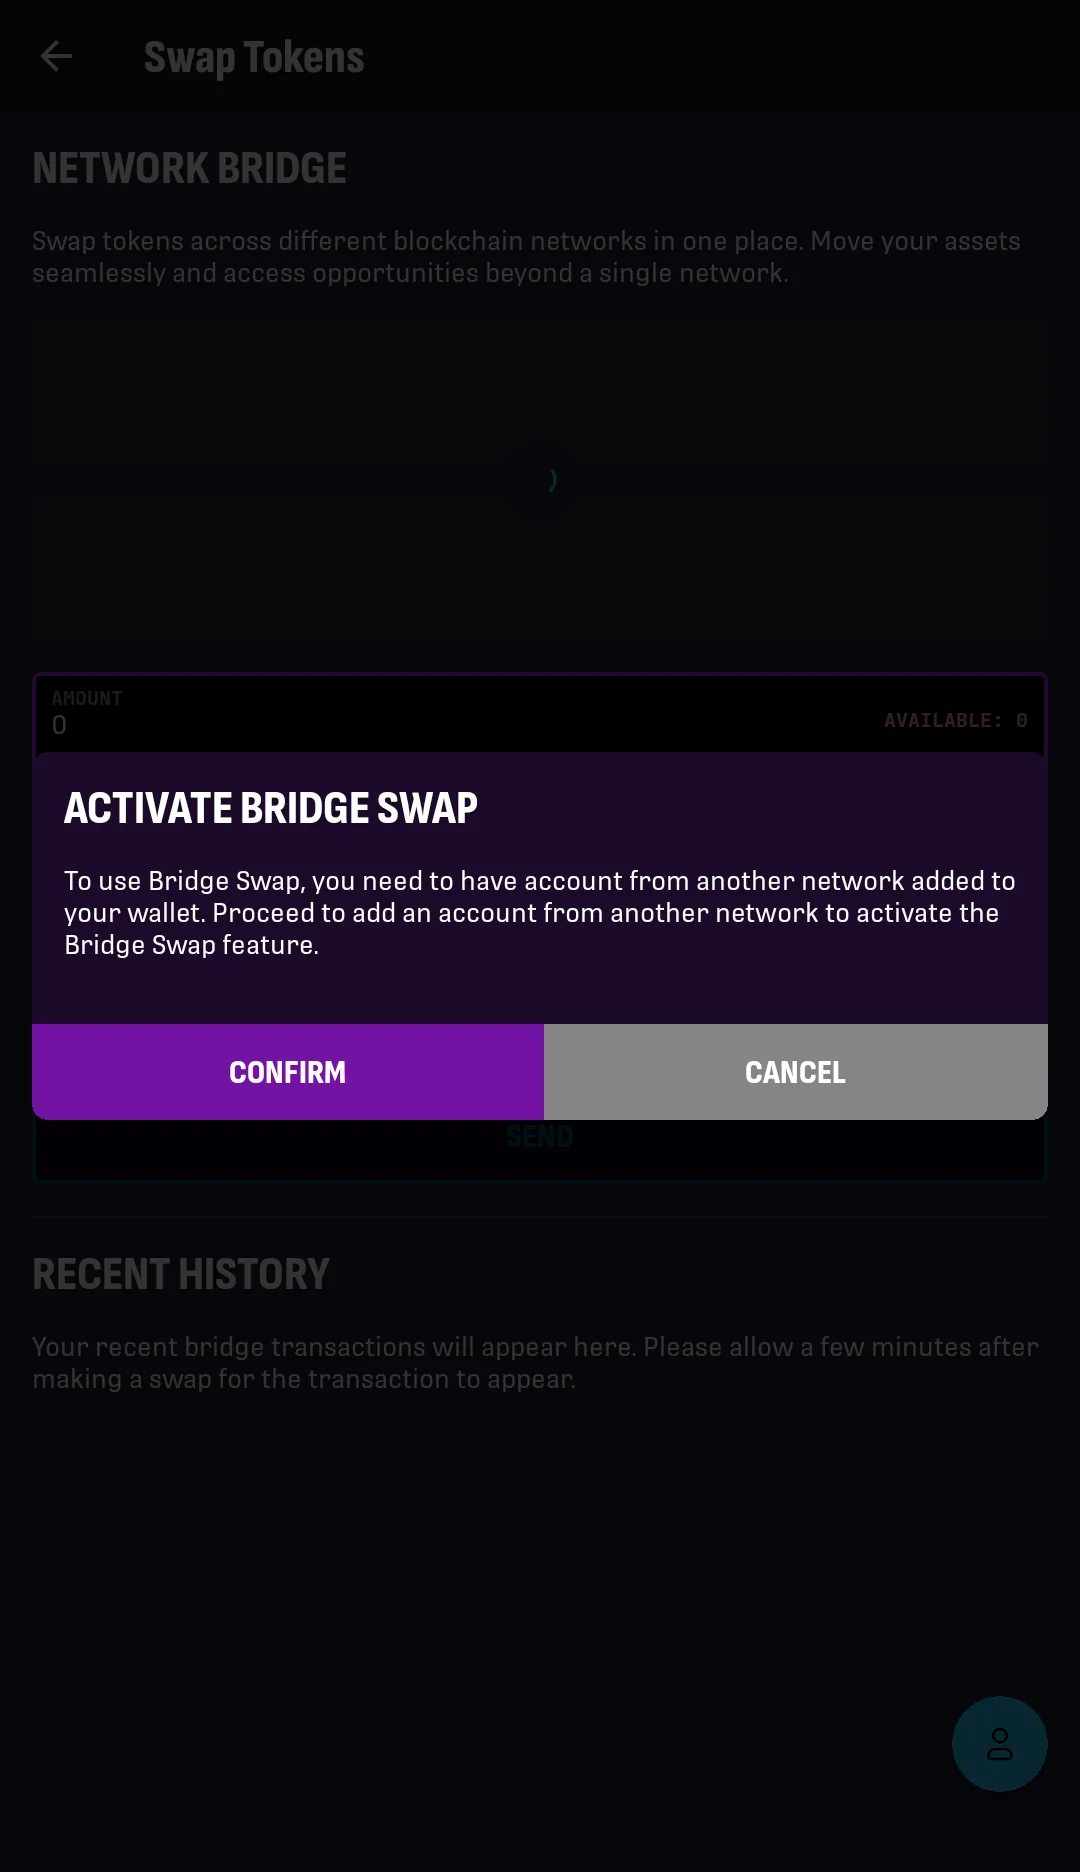
3. If the wallet does not have an Ethereum account yet, a popup prompts you to create one. This may happen the first time you use the bridge.
Tap CONFIRM.
If the wallet already has an Ethereum account, skip to step 6.
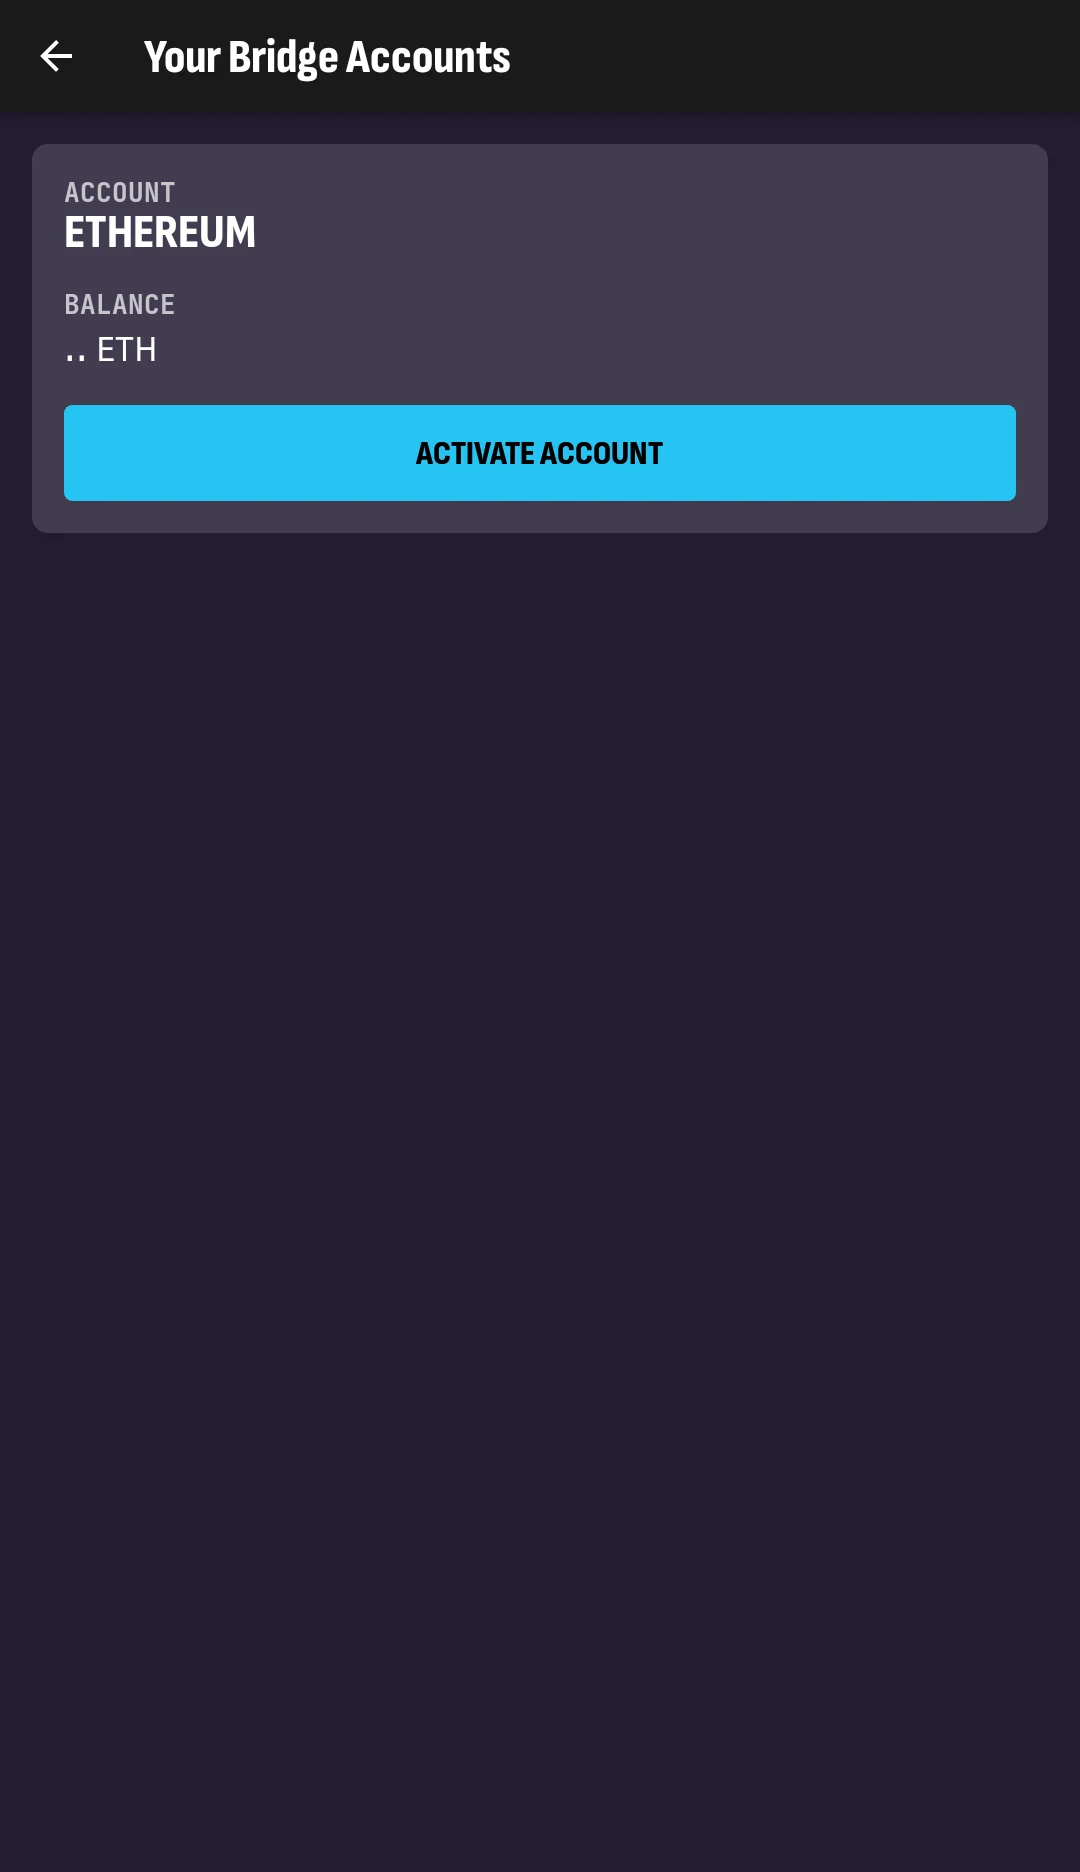
4. Tap ACTIVATE ACCOUNT.
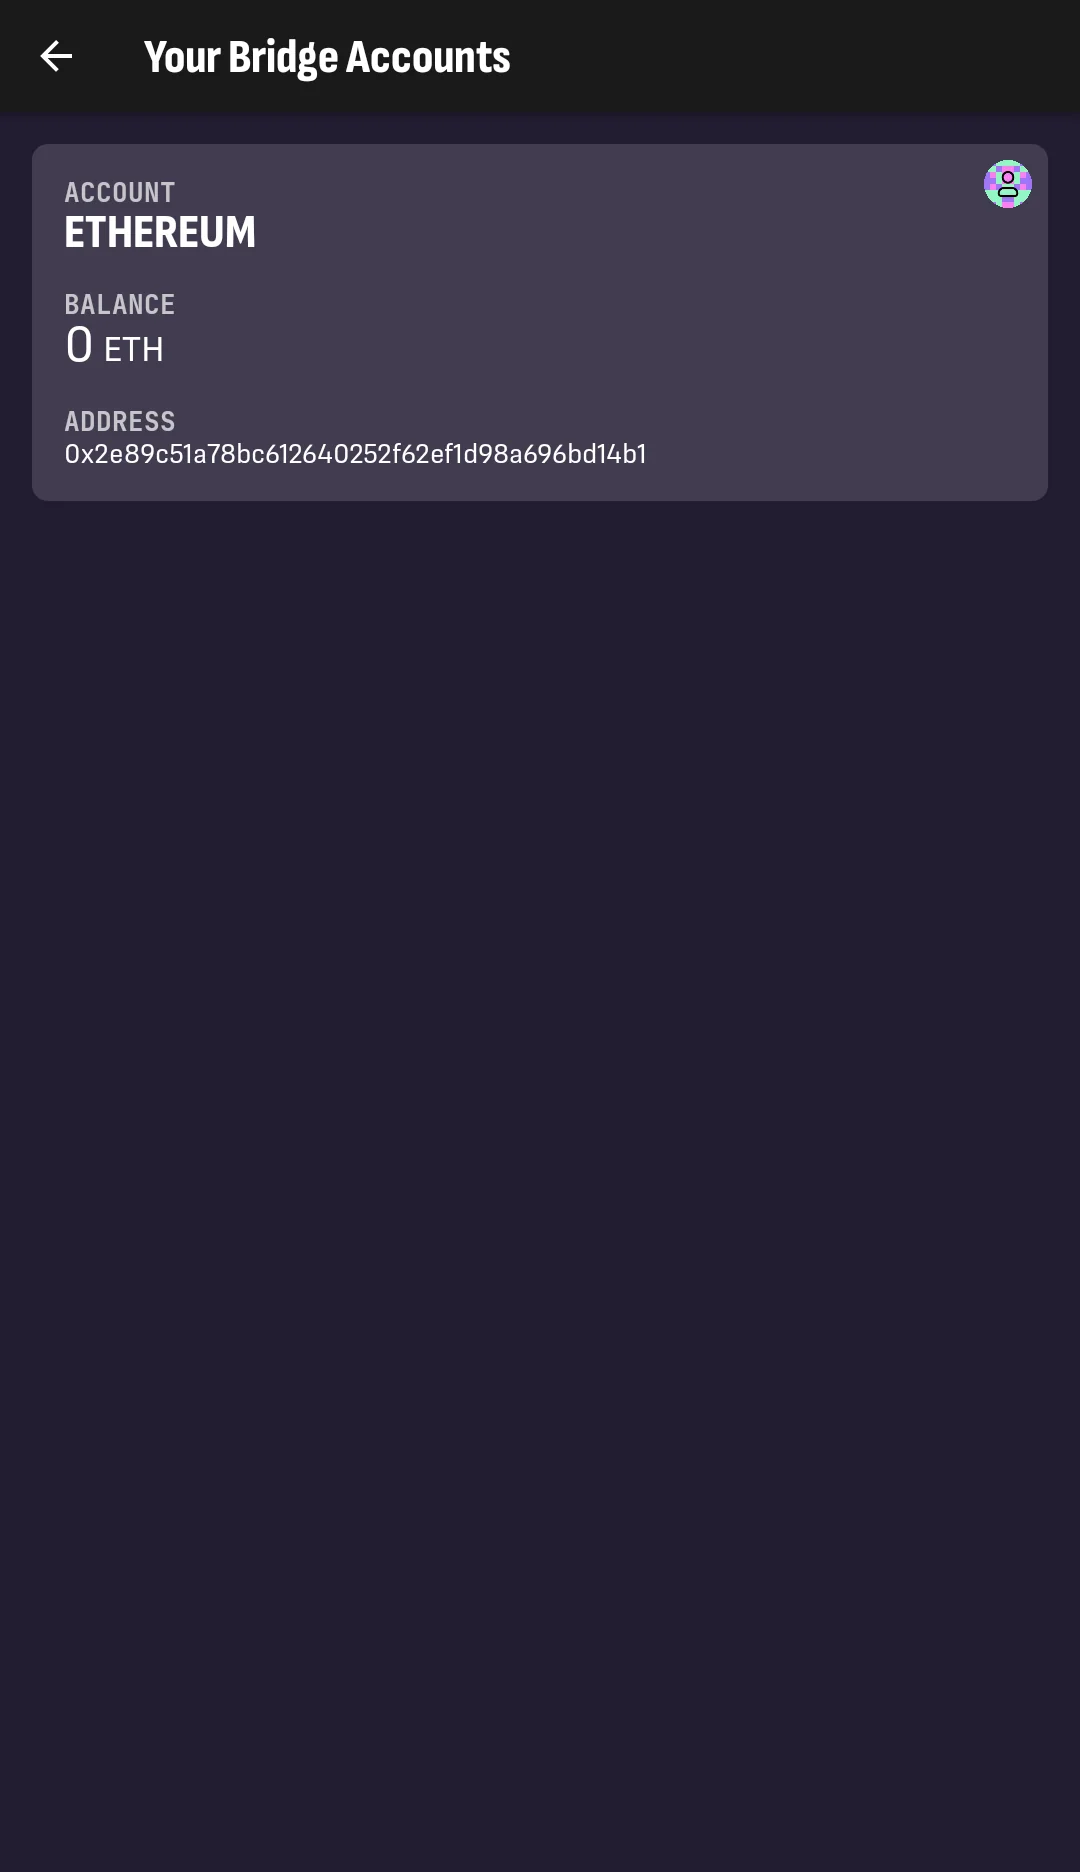
5. The Ethereum account is now available.
Tap the back arrow to return to the ACTIONS screen, then tap Network Bridge again.
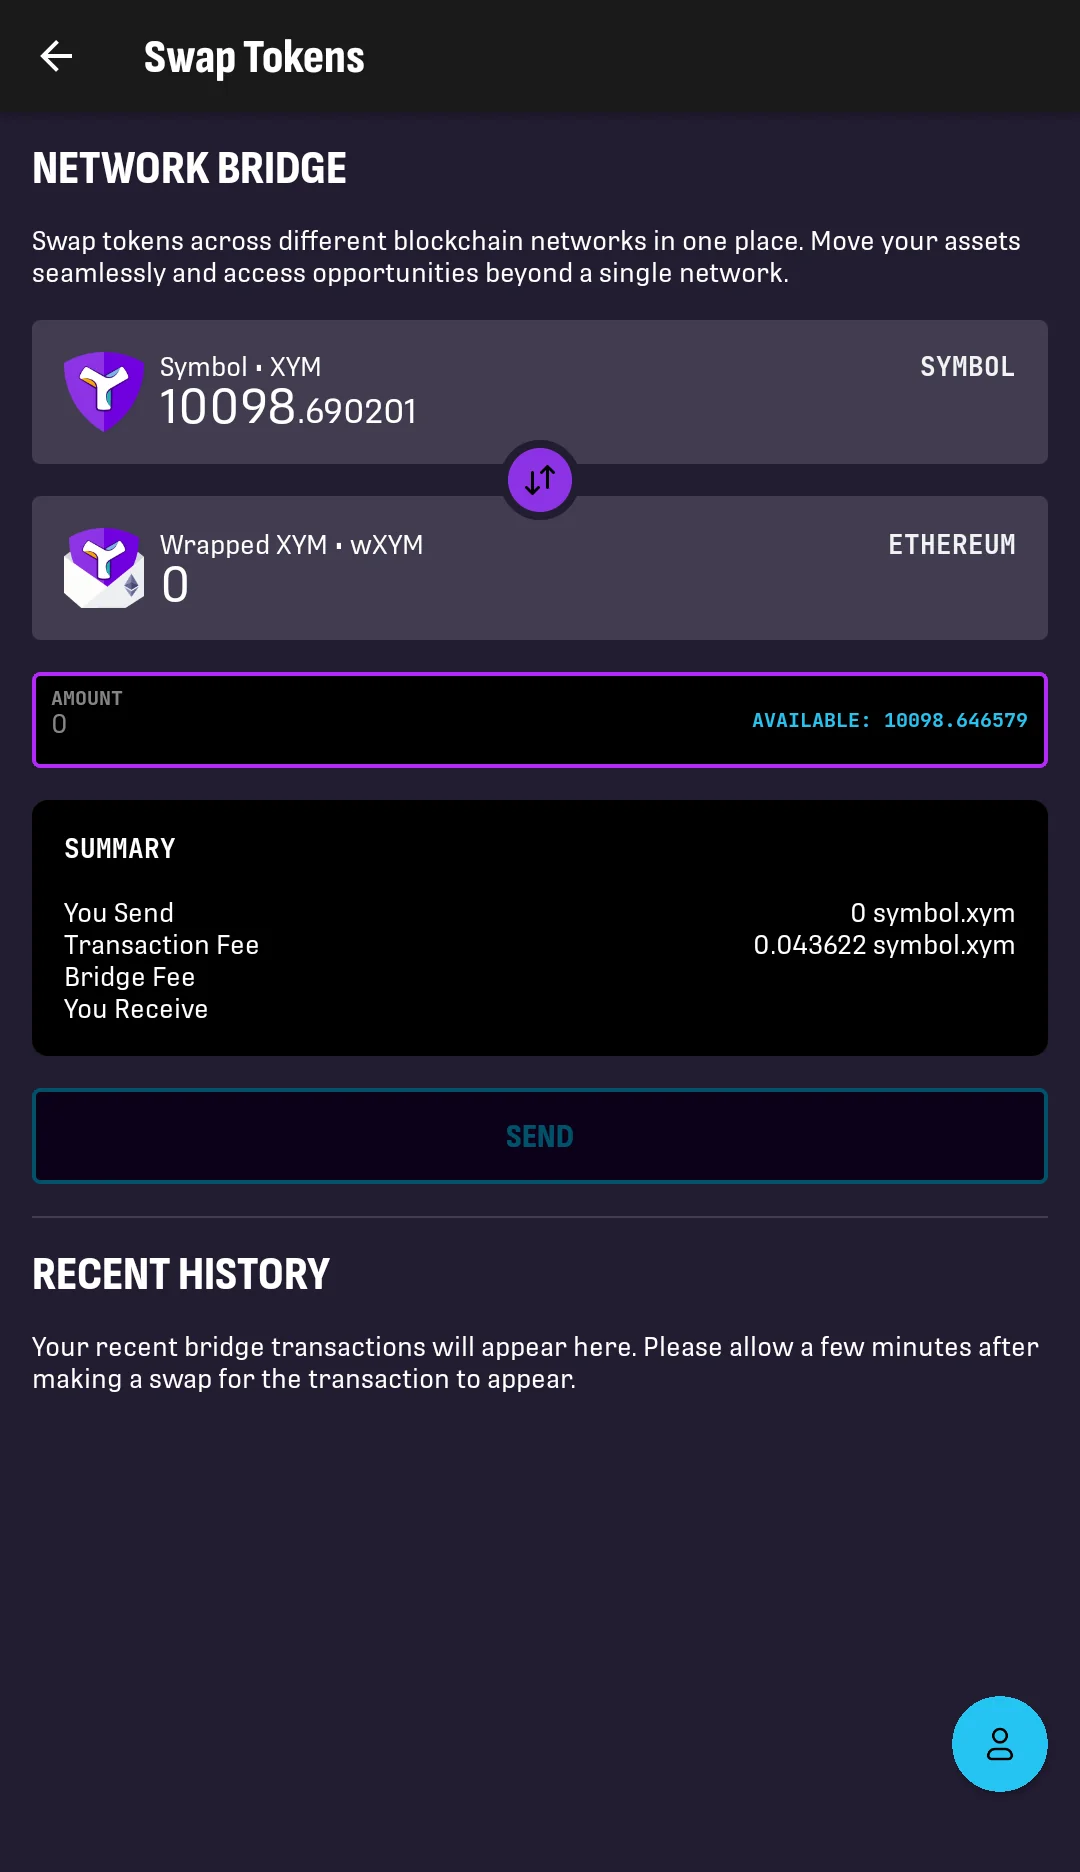
6. The Swap Tokens screen lets you choose what to bridge or swap.
Use the top dropdown to select the source token and the bottom dropdown to select the target token. See Bridging Symbol to Ethereum for the available options.
Enter the amount. The summary box shows:
- You Send: The amount sent from the source account.
- Transaction Fee: Estimate of the fee paid on the source network.
- Bridge Fee: Estimate of the fee deducted by the bridge.
- You Receive: The final amount received on the target network.
Fees are subtracted from the amount sent, and their final value is only known when the bridge processes the request. Additionally, the bridge does not provide slippage protection.
If the amount is not expected to cover the fees, Amount too low is shown and the SEND button is disabled. Fees can be substantial on Ethereum.
Enter a valid amount and tap SEND.
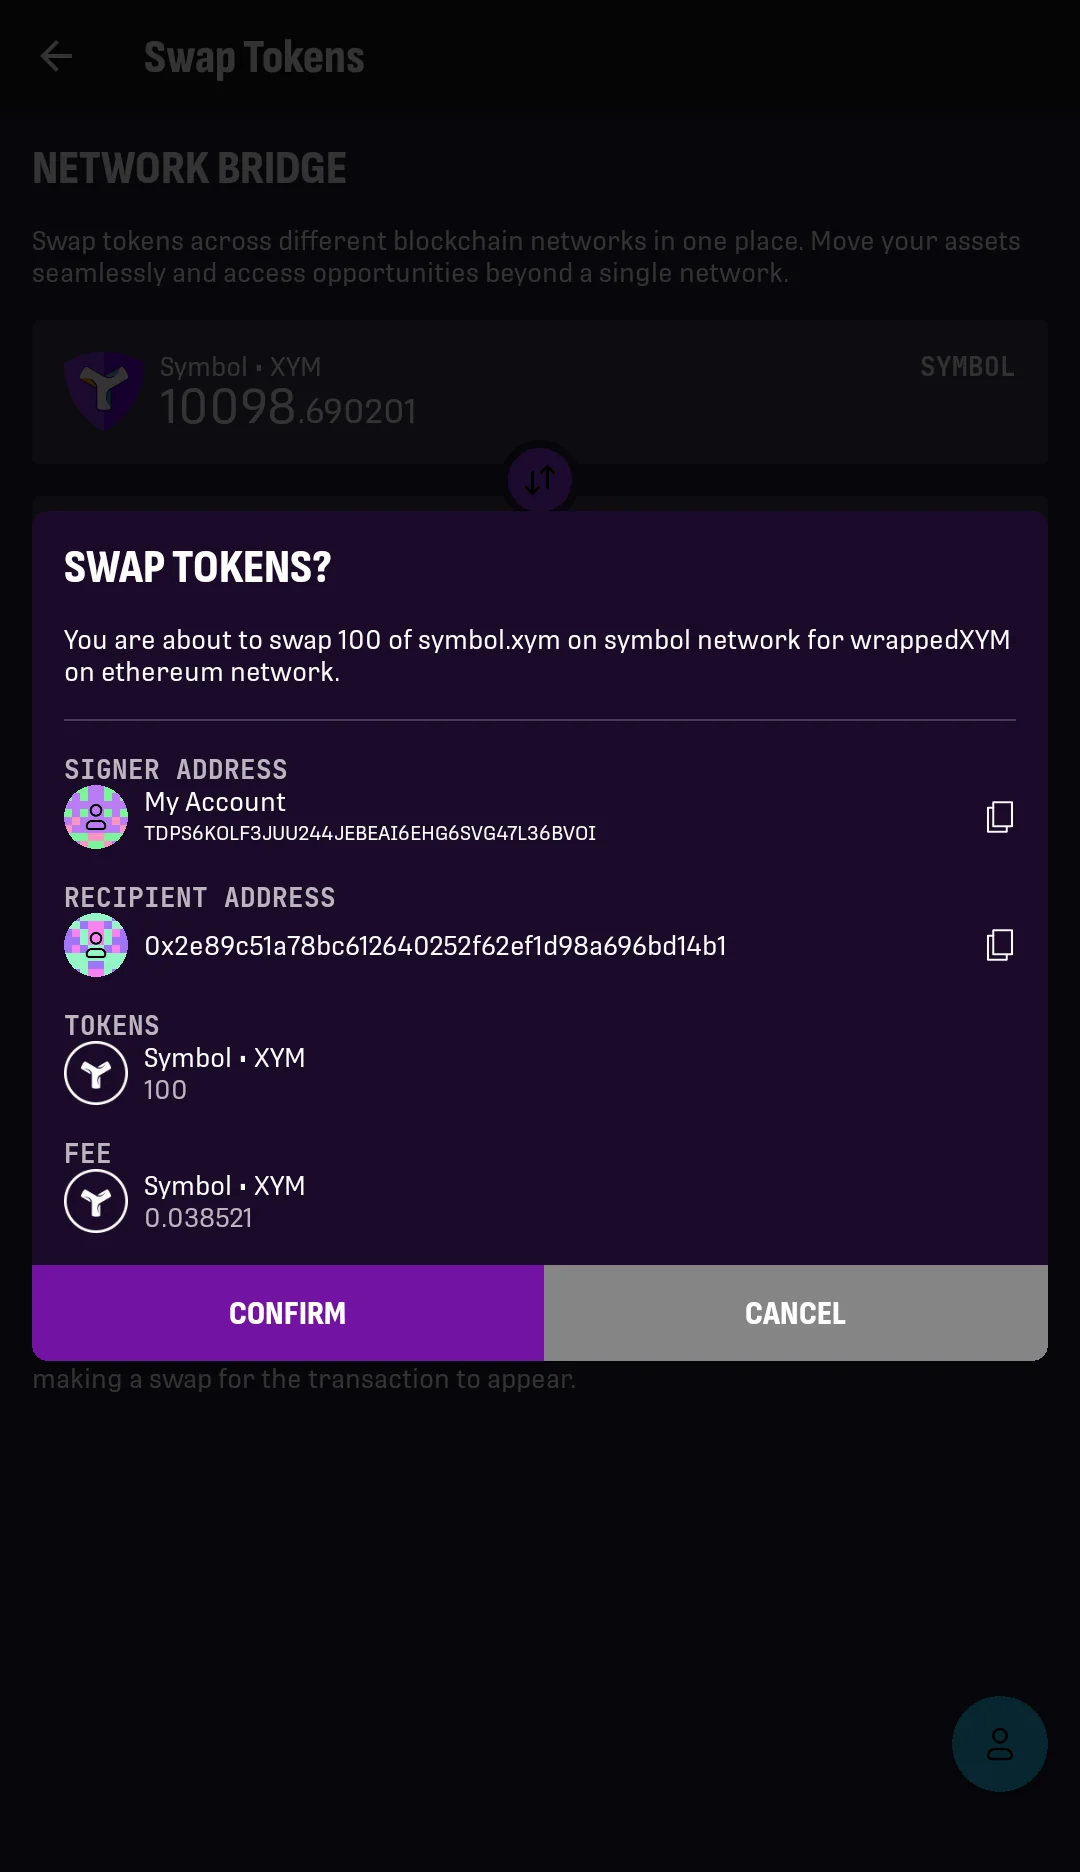
7. Review the confirmation screen.
For example, when bridging XYM to bXYM, SIGNER ADDRESS is your source account and
RECIPIENT ADDRESS is your Ethereum account.
The FEE shown here is only the transaction fee, not the bridge fee.
If everything is correct, tap CONFIRM.
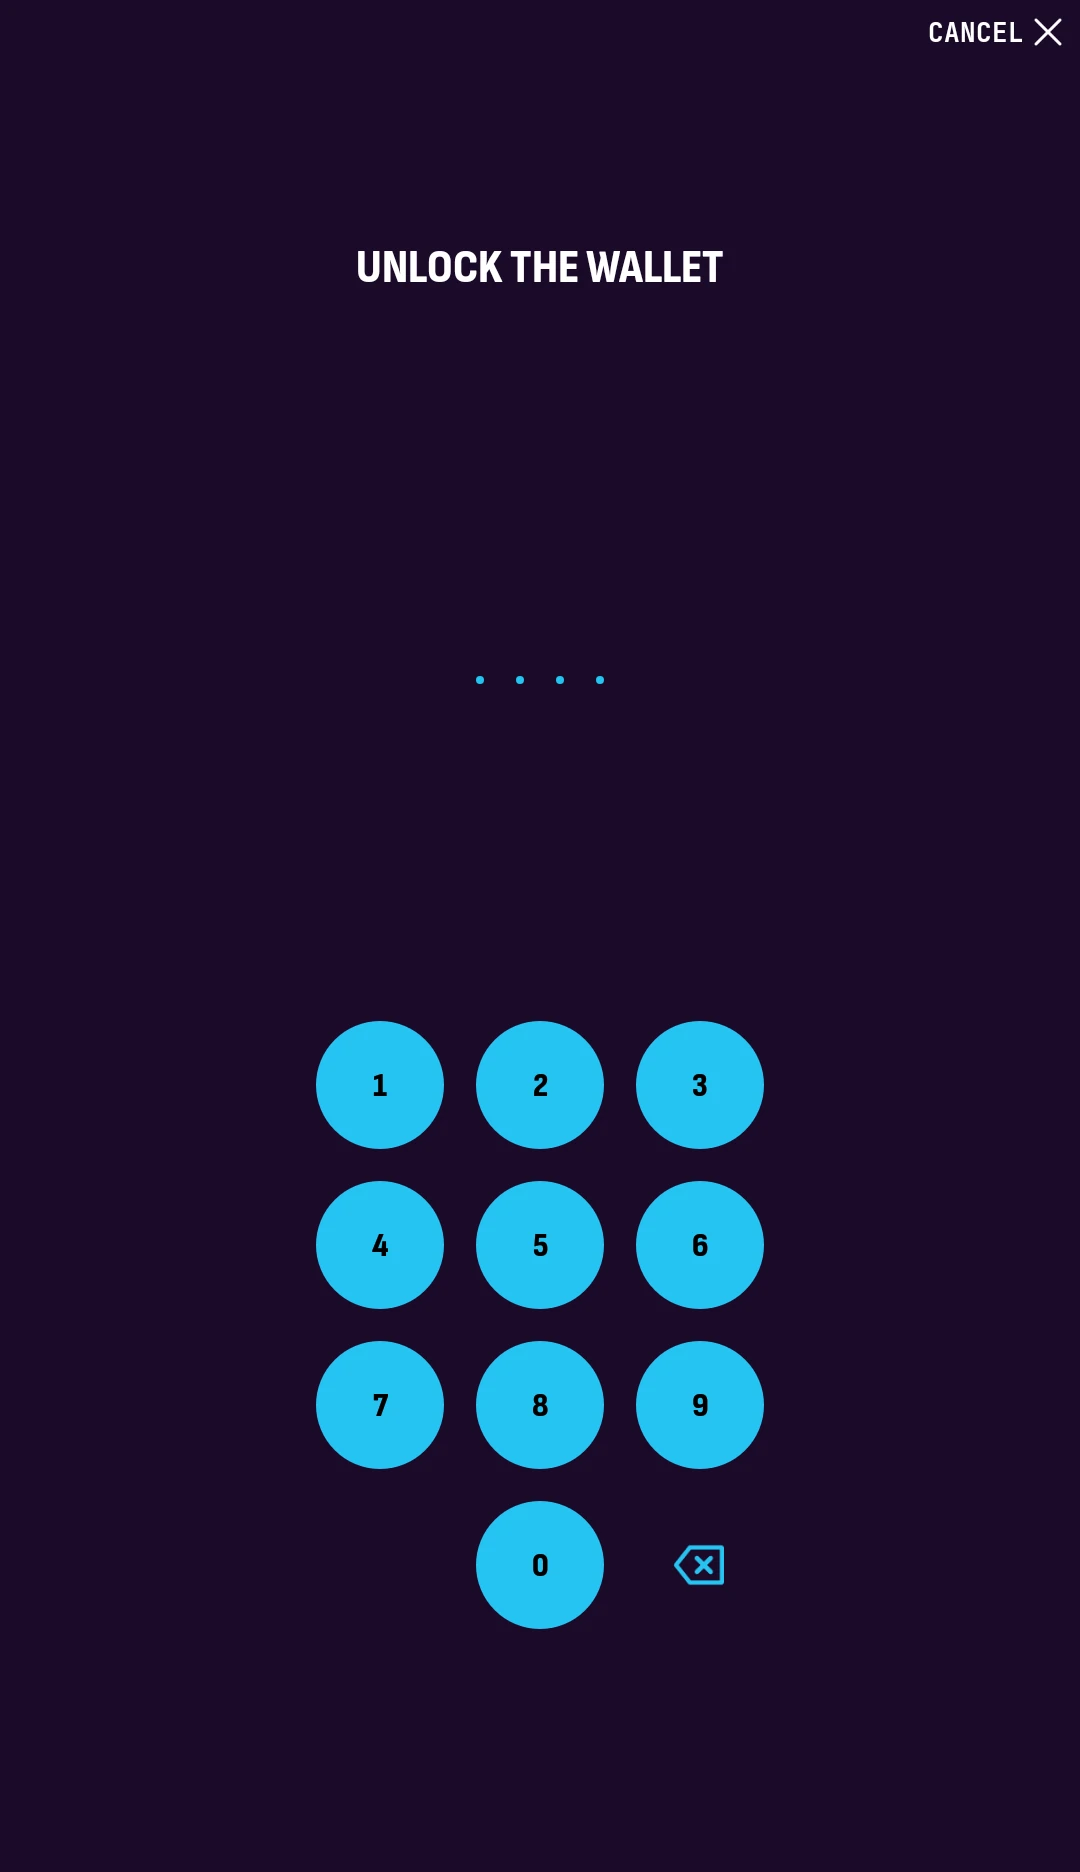
8. Enter your PIN code to unlock the wallet and authorize the transaction.
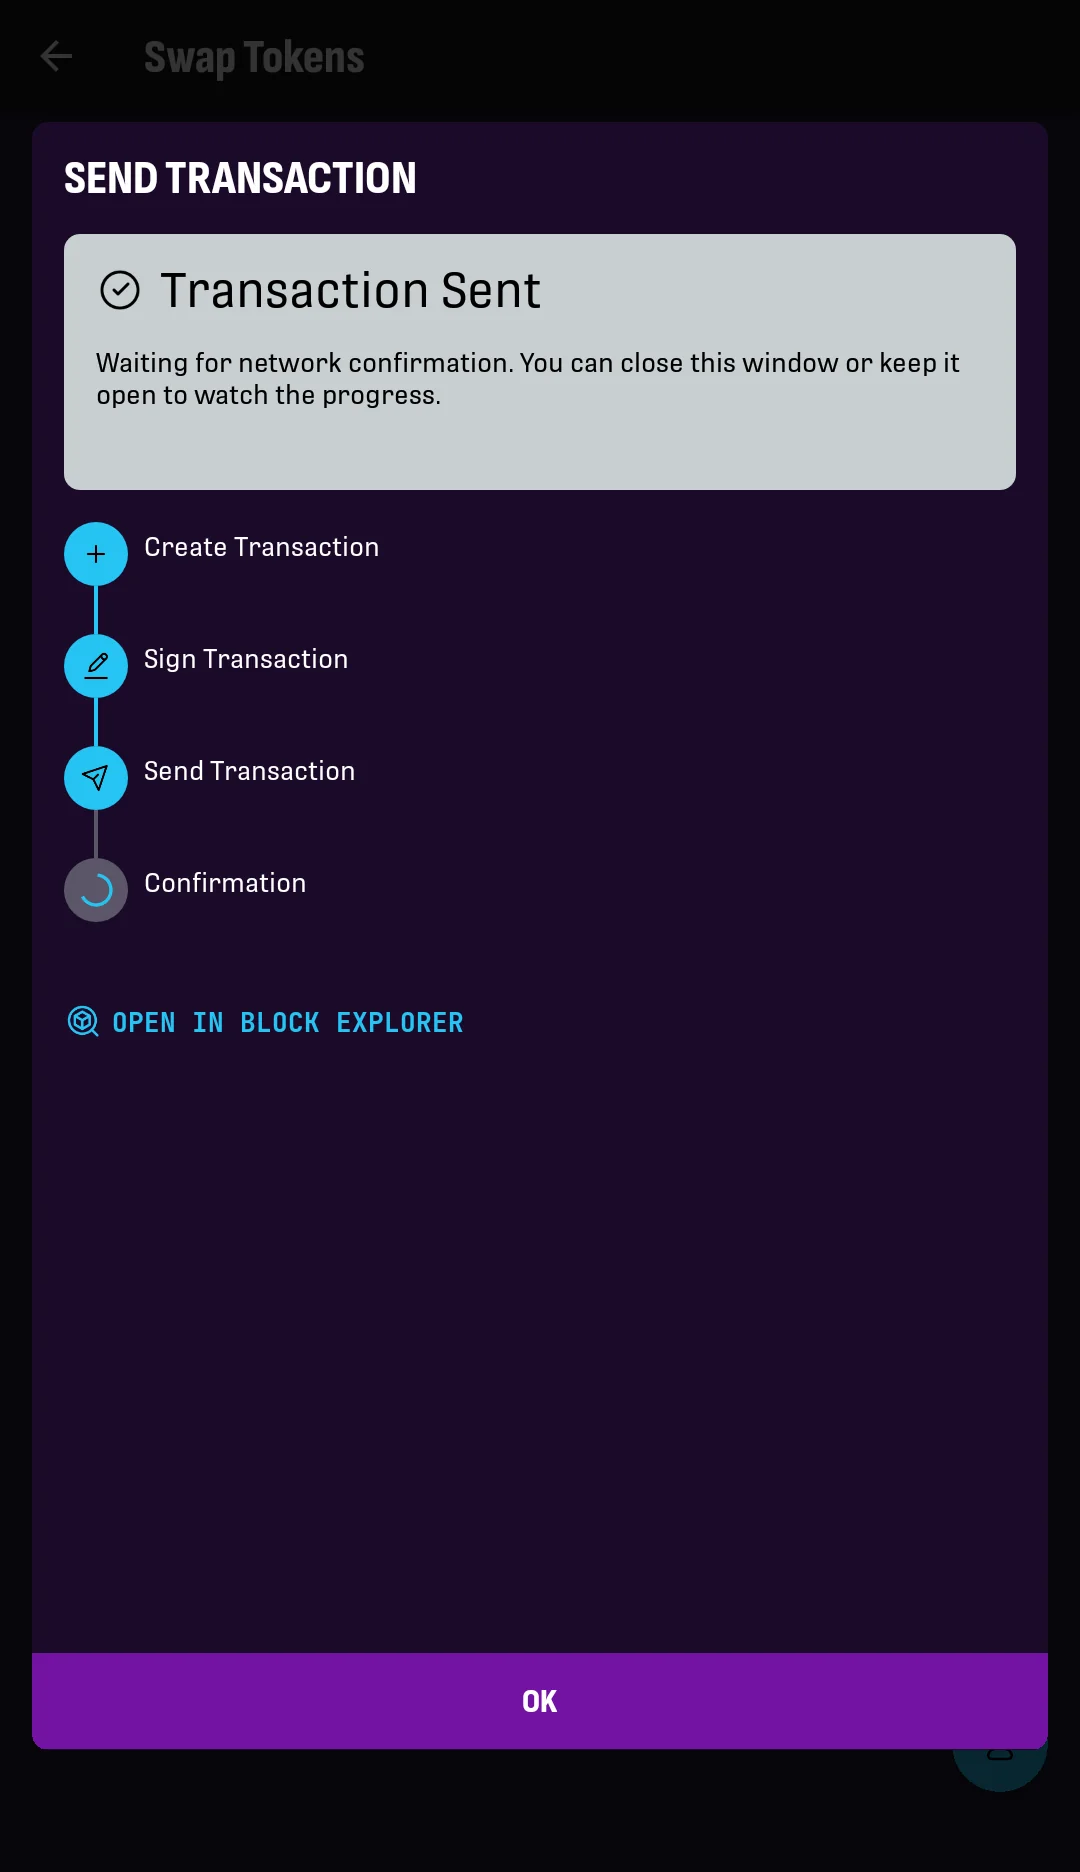
9. Wait while the app creates, signs, announces, and confirms the transaction containing your request.
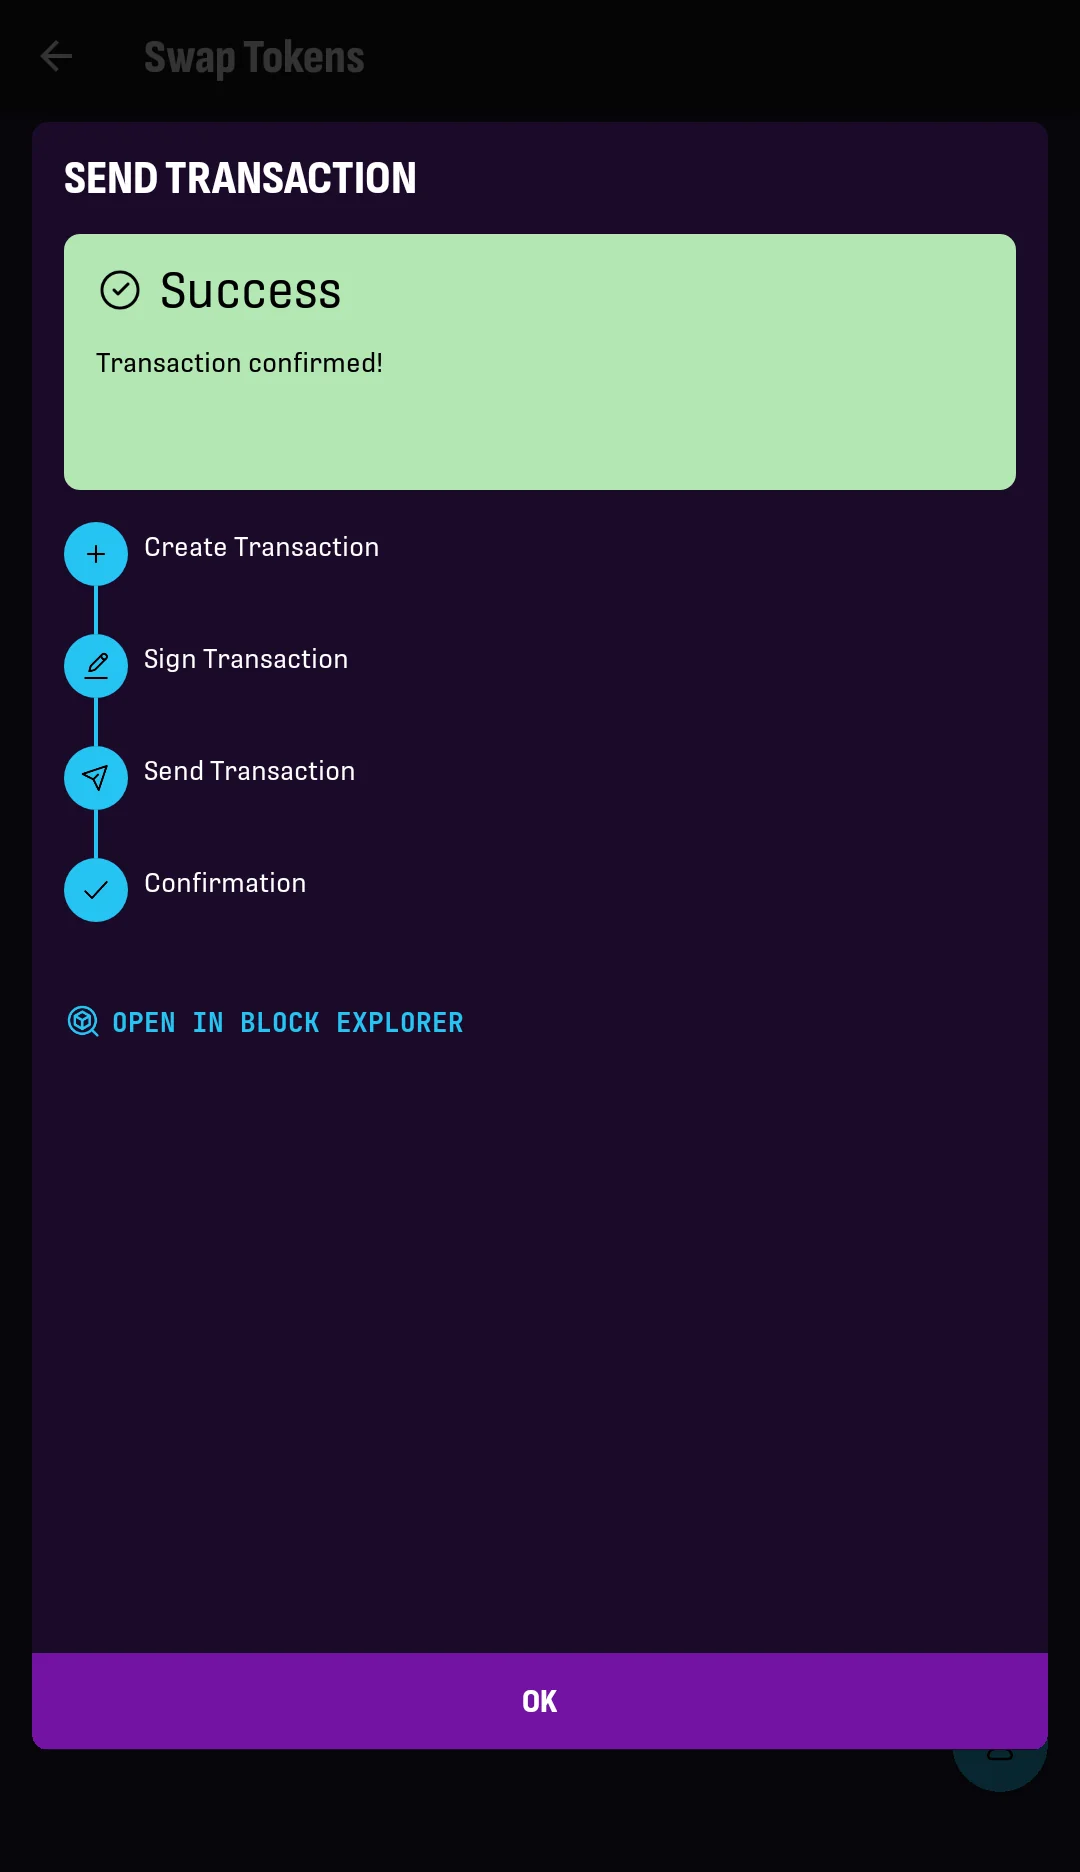
10. The transaction is confirmed.
Tap OK.
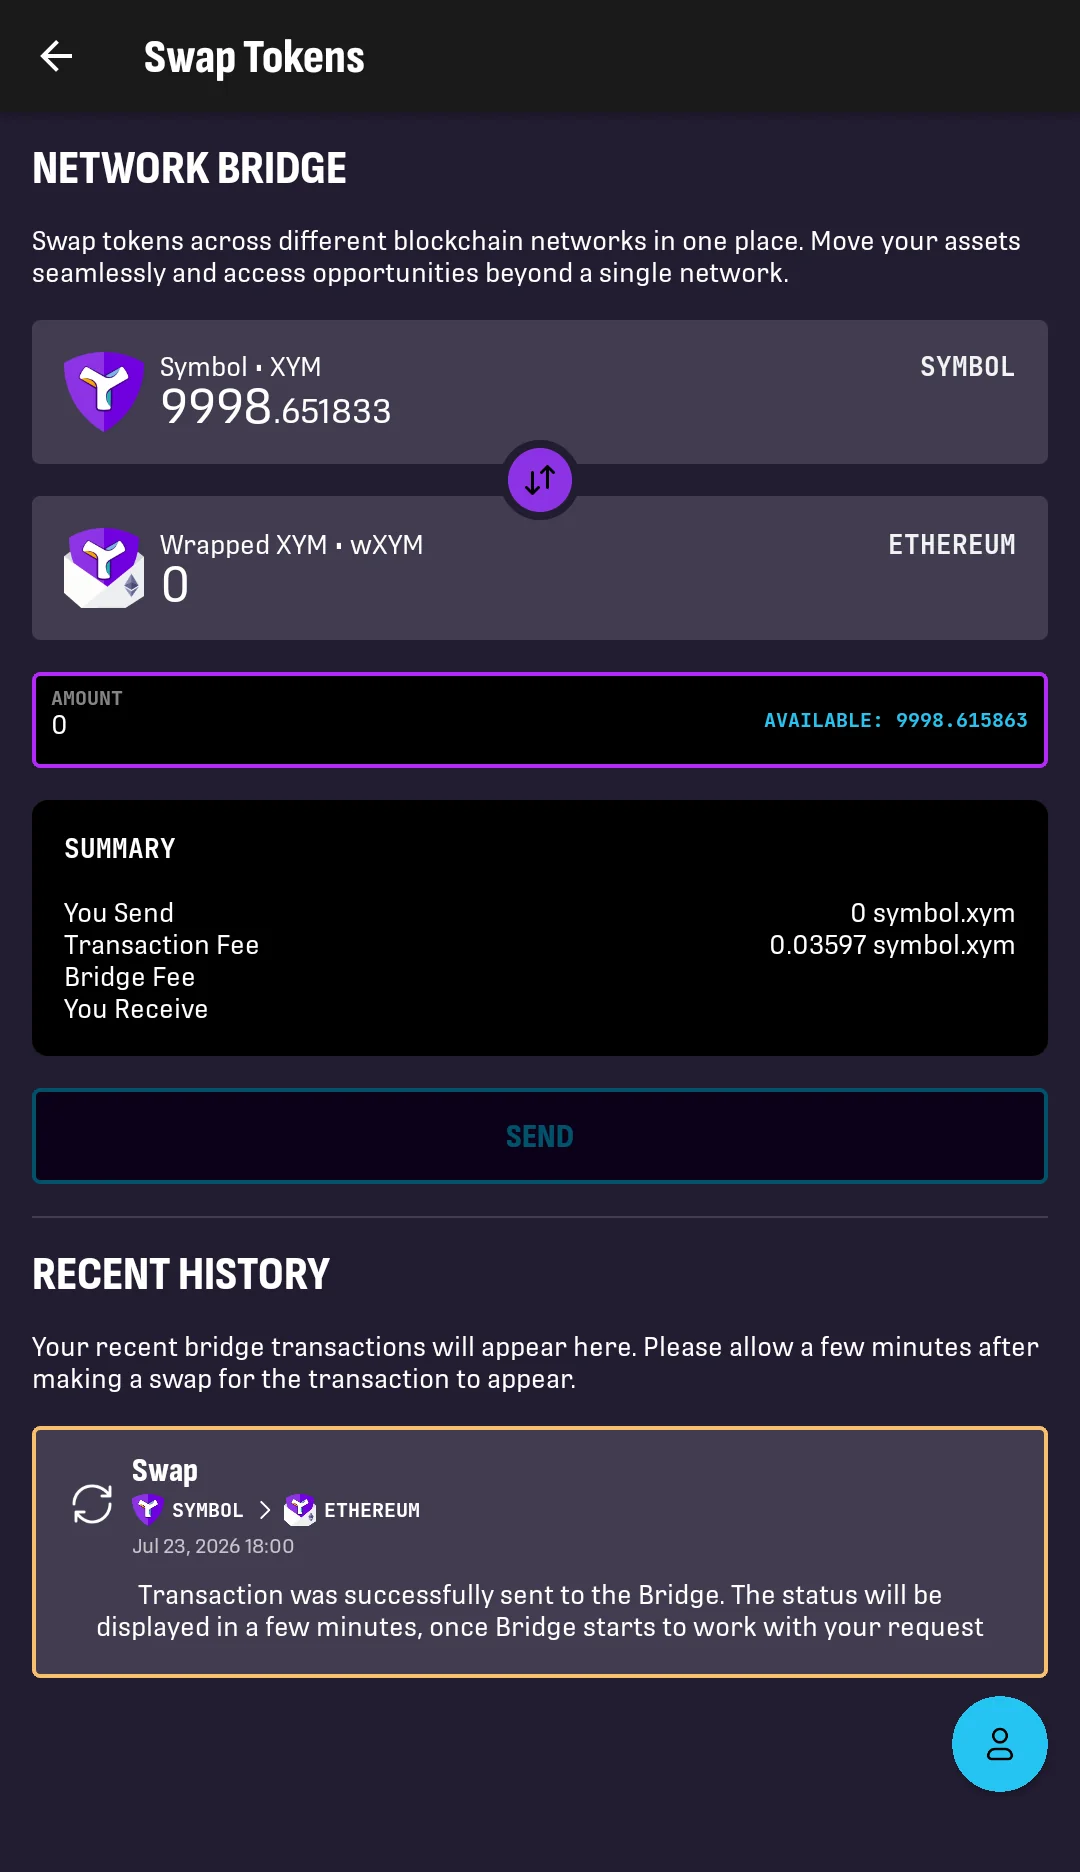
11. The request has been sent to the bridge and is now pending.
Tap the transaction box at the bottom to see the details.
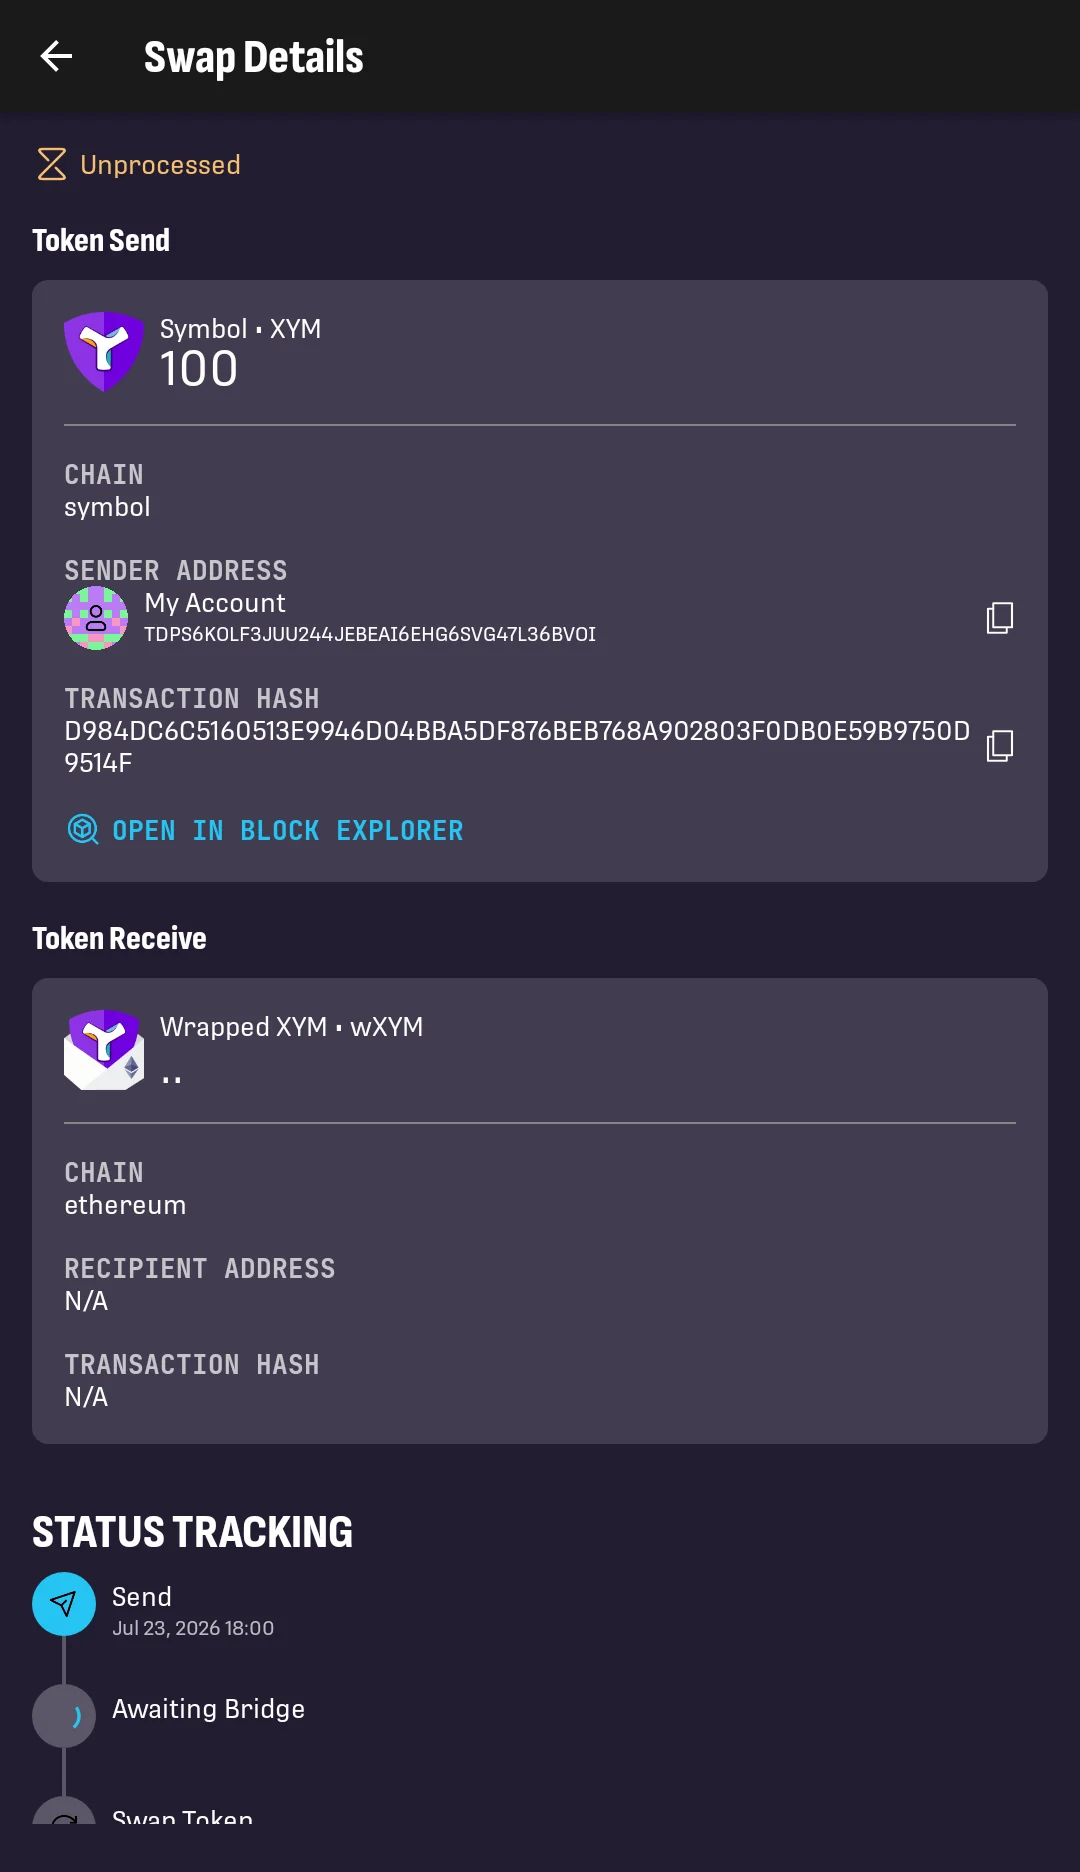
12. The Swap Details screen shows the bridge request status.
At this point, the request is waiting for the bridge to process it, which requires the transaction to be finalized first. The process can take about 20 minutes.
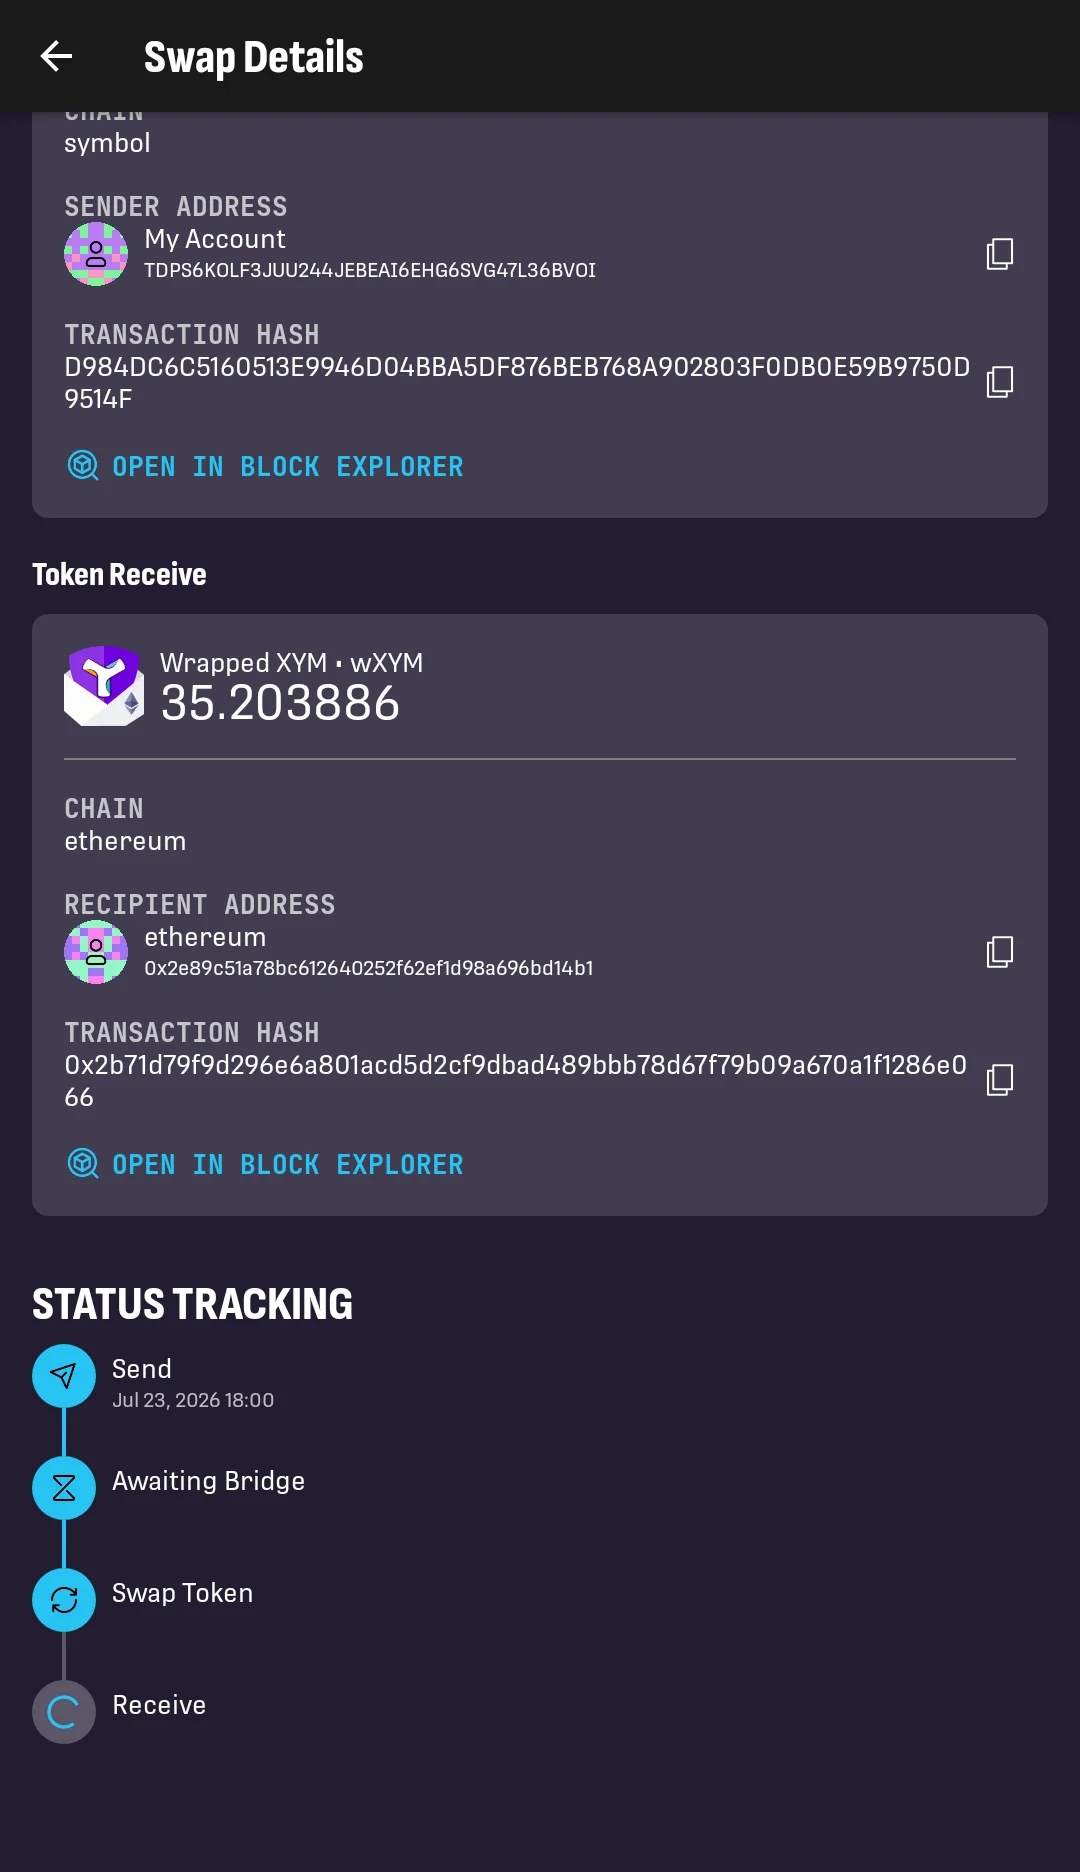
13. The bridge has picked up the request and is processing it.
This involves waiting for a transaction to confirm on the target network.
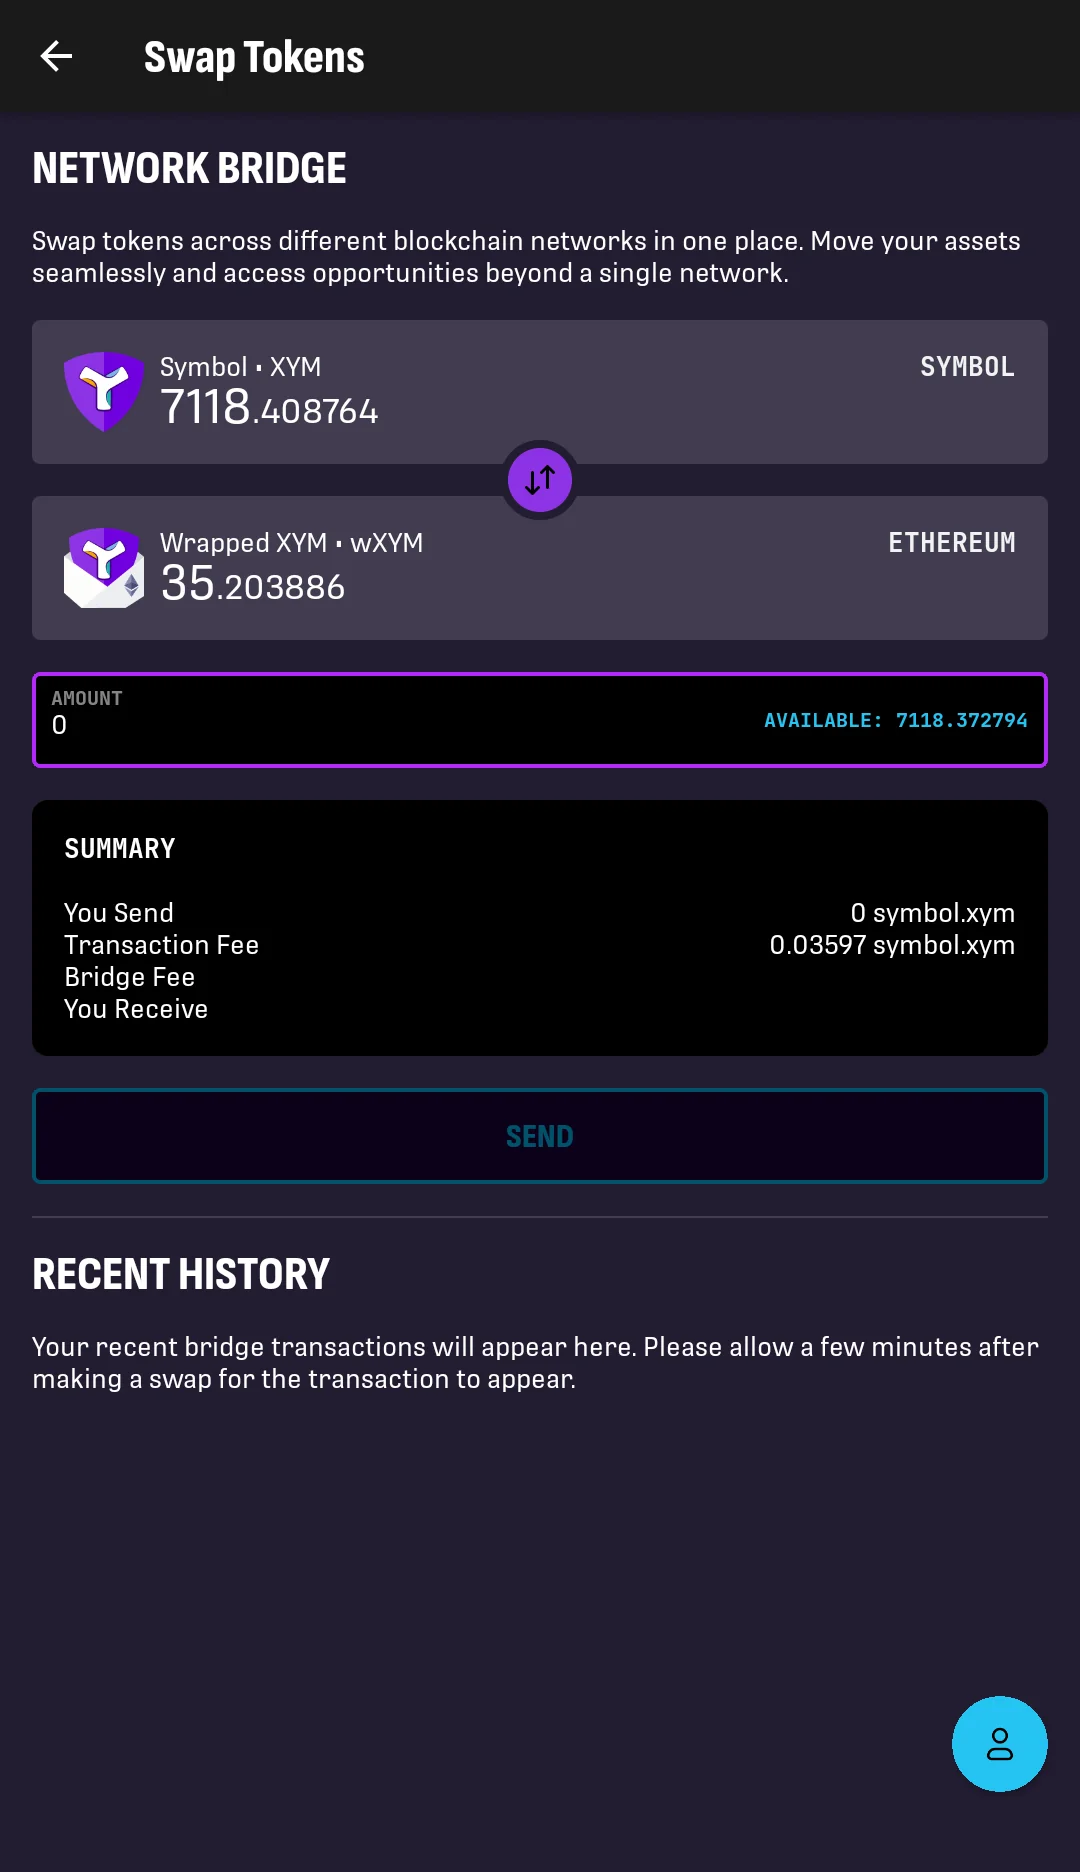
14. The tokens are now available in the wallet. Tap the back arrow to return to the ACTIONS screen.
15. Tap External Account.
16. To see tokens stored in the external account other than ETH, tap the account box to open its details.
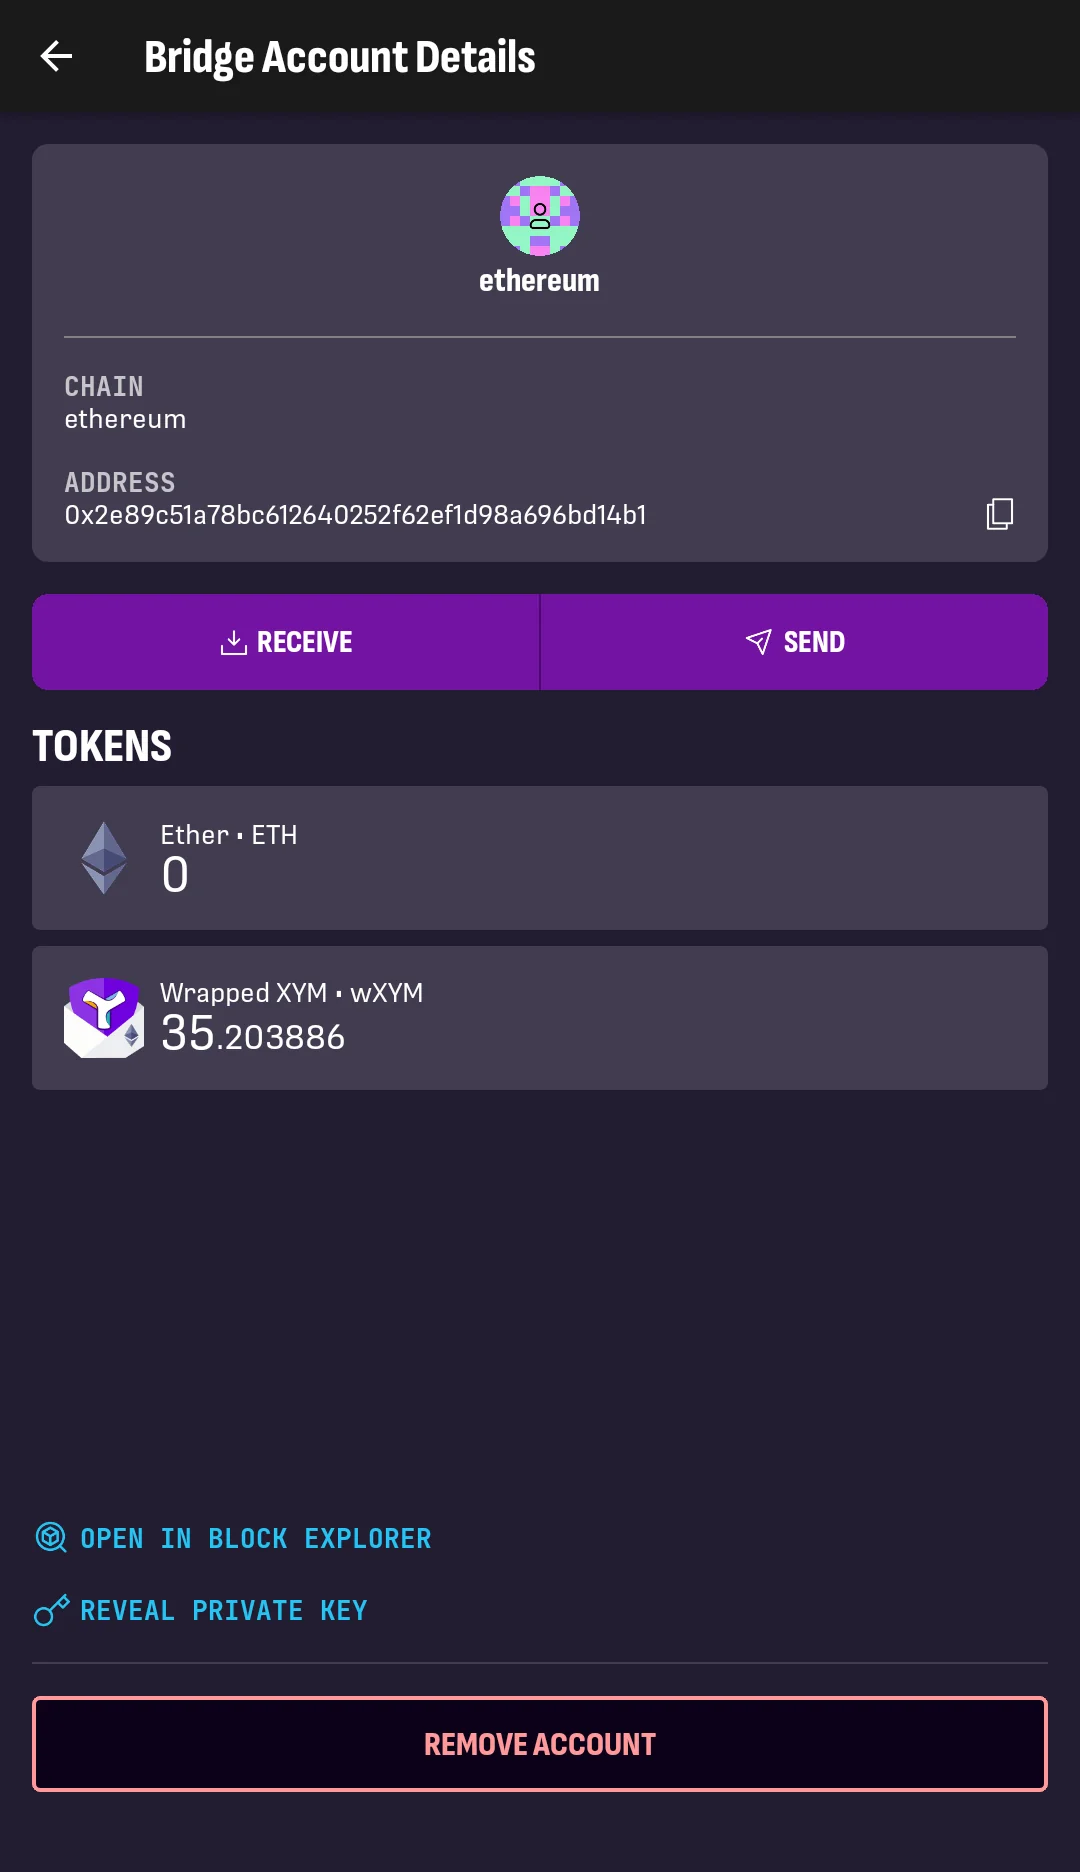
17. The Bridge Account Details screen shows the tokens held by the Ethereum account.
In this example, you can see the received bXYM.